Making SharePoint easier to navigate and keeping navigation simple are two very important pieces to user buy-in. Getting these right ensures users will continue to return to the SharePoint site.
Typically, when we add web parts to a page, the title link navigates to the app in the web part. But what do we do if we want the link to take us somewhere else or to a specialized view?
We can actually change the link in the web part to make it take us somewhere else. This is especially helpful when using web parts that have titles that take the user nowhere. All web parts have this functionality, and along with changing the title, this duo can become another tool to be used for easy navigation.
Follow these steps to find out how to set up this functionality:
- Navigate to the page with the web parts you wish to change.
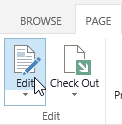
- Click the Page tab of the ribbon; then go to the Edit group (to the left), and click Edit.
- Hover on the web part you wish to change. Once the drop-down arrow on the right-hand side of the web part appears, click and select Edit Web Part.

- Once the edit display box appears (you might need to scroll right and up, depending where your web part is located), expand the Advanced section. In some cases, there is a URL already in the field and in other cases, it is empty.
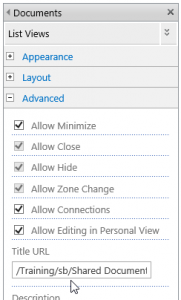
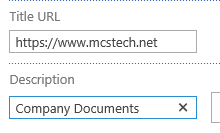
- Just below the URL field is the Description field. This can also be changed to hide the actual URL, when a user hovers on the title of the web part.
- The actual title of the web part is located in the Appearance section of the edit display box. This allows you to change what the title reads, so it can reflect where the URL navigates.
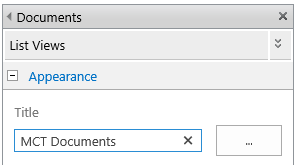
- Once done with the changes, click OK at the bottom of the edit display box.

- Once you click the Save button, located in the Edit group of the ribbon, your changes will be visible.


