You can add different columns to the e-mail list in Outlook. This will allow you to quickly view different properties of items in the e-mail list as well as click on the various columns to sort your email list. To do this, you first need to ensure your reading pane is not displayed on the right hand side of your screen, and is instead on the bottom or turned off.
Place Reading Pane on the bottom

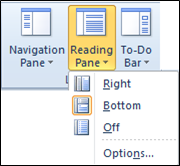
Click on the View tab on the Ribbon, in the Layout group, click the Reading Pane button, then trace to and select Bottom.
Now we can add different columns to our email list view
- Right-click anywhere on the column header bar above the list of emails
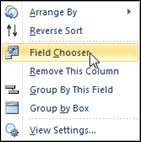
- Click on Field Chooser from the popup menu


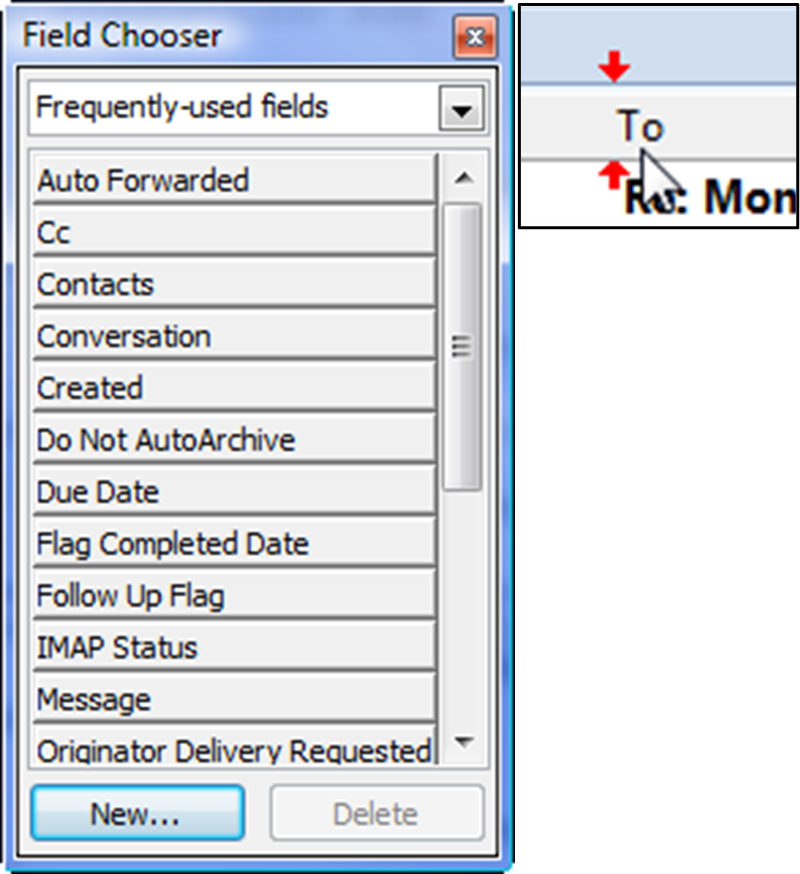
- Click-and-drag To from the Field Chooser list, move your mouse between the From and Subject column headers, until you see red arrows, then release your mouse button.
- Click the X to close the field chooser menu

To remove columns, click-and-drag the column header off of the header bar, until you see the big X, then release your mouse button.
Changing Column Order and Size
You can reorganize the order in which the columns appear as well as how wide they are.
- Click-and-drag any of the column headers to reposition them
- Position the mouse on the border between headers, until the mouse pointer becomes a double-arrow, and then double-click. This will re-size your column to auto fit the text. You can also click-and-drag to resize them.

Learn all the ways that Outlook can make your life easier with training from AETC!


