Scheduling an event in Outlook might be second nature for most, but there are lots of little unfamiliar extras, such as inviting others to the events. In some cases, a user might be in charge of a company Outlook account, which means that all the invites to the company holiday party can be sent through a different account, other than your personal account.
Not only can we invite others, we can upload the main flier. Outlook will even ask for responses to the invitation.
To do all of this, just follow these steps:
- Open Outlook and navigate to the Calendars section.

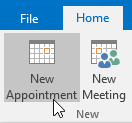
- Once there, ensure you are on the Home tab, then go to the New group, and click New Appointment.
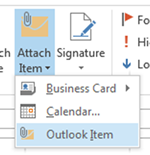
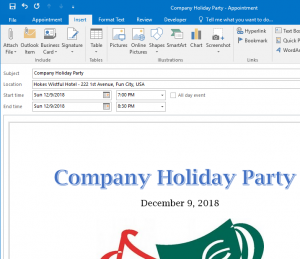
- Once the new appointment dialog box appears, fill in the appropriate date, time, and location. Even insert a copy of the flier, if you want to add it.
- Now we need to add invited attendees by going to the Appointment tab and clicking the Invite Attendee command, in the center of the ribbon.

- A new section will appear in the appointment, just above the Subject section, that looks like this:

- Click the To… button, and add the invitees.
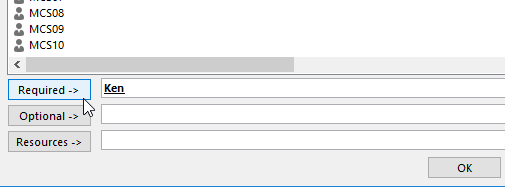
- Select the attendees and click Required, Optional, or Resources, to load the name in the proper section, then click OK.
- When you are done, click the Send button, and all invitees will receive an email about the event. You can recheck the event to see who has accepted and declined the invite. In most cases, users will be able to add the event to their personal calendars. In some cases the event will show up directly in their calendar app, where they can accept or decline the event.
Want to learn more ways Outlook can help you manage your busy life? Take a training class from AdvantEdge Training & Consulting.

