Access allows users to connect to various data sources, such as SQL, other databases, XML files, and SharePoint, as well as Excel files. In order to ensure a proper importing and/or linking, the data needs to have headers for each column of information. Also, there can be no entire columns or rows of information missing, and no additional information, such as worksheet titles, on the worksheet being used for the connection. The worksheet should look similar to this example: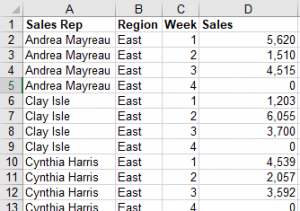
After you have created your database (or utilize an existing database), setup the connection between Access and Excel following these steps:
- Click the External Data tab, go to the Import & Link group, and click the Excel
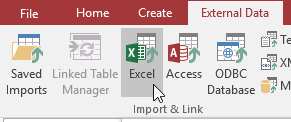
- Once the dialog box appears, browse and select the file in which you keep the desired data.

- We are going to select Link to the data source by creating a linked table for our example.

- Click OK to take you to the next step.
- Next, select the worksheet that has the information you want linked. If you have specific Named Ranges you want to use, then you can also choose them during this step. (To learn more about Named Ranges, check out our Excel Advanced training course.)

- Ensure your data is listed in the next section, then click the Next button at the bottom of the dialog box.
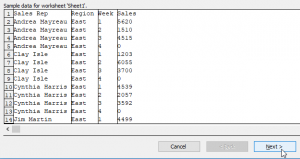
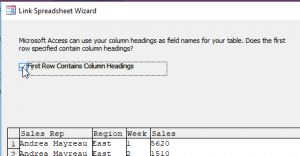
- Make sure the First Row Column Headers radio box is checked, so Access knows what to name the columns, then click Next.
- Type in the name to be used for your new table.

- Click Finish.
- Click OK, when the confirmation dialog box appears.

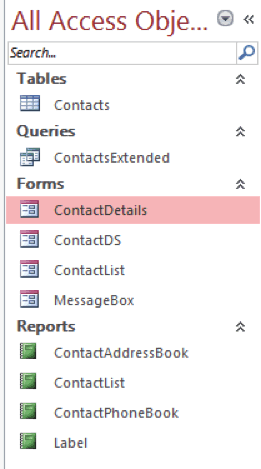
- Double-click your new table in the Navigation Pane to the left, when it appears, and your new table will populate.

This link is always active when the database is open. Any changes made to the Excel workbook will be immediately visible in your new table.
Get more ways to connect your data with an Access class from AdvantEdge Training & Consulting.

