Don’t go out and buy fancy address label with pictures/clipart, etc for the holidays. Instead, use Word to create and print your own custom labels. You can include photos, graphics, clipart, the ideas are endless.
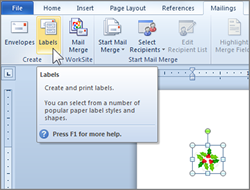
Images on labels in Word are created in the Mailings tab on the Ribbon.
 Create a blank new document.
- Insert a picture, graphic, clipart, etc. that you want to use on your label. Be sure to make it small enough to fit on the label (you may have to guess at first.)
- IMPORTANT:Click on the graphic BEFORE you start the mailing label process.
- Click on the Mailings tab
- In the Create group, click on Labels.
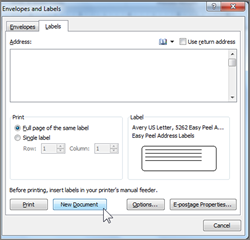
- In the Envelopes and Labels dialog box, use the.. button to select the type of labels you will be using (for example Avery 5261).

- Click the New Document button
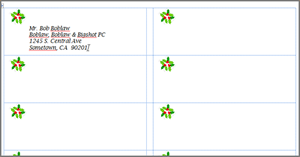
- Note: this will create a new page of labels with the graphic on each label.
- Type in the address for each label note: the labels are set up as a MS Word table.


